Wall Paneling Ideas Bedroom
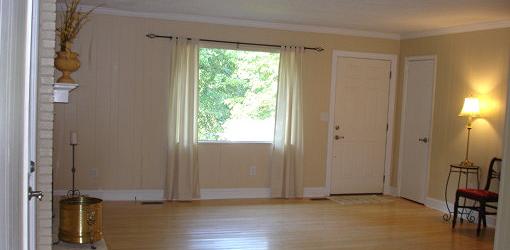
Dark wood wall paneling sure had its heyday, and it surely is over! Wall paneling can be tricky to update, and whether you can resurface it by filling in the grooves depends on if your paneling is solid wood or plywood.
Here are some tips and suggestions for how to update wall paneling in your home.
Solid Wood Paneling
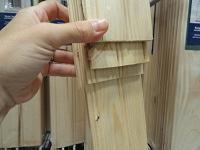
If your paneling is solid wood made from individual, tongue-and-groove or V-groove boards, don't try filling in the grooves, since it will tend to crack and fall out as the wood shrinks and expands with the seasons.
To give solid wood paneling a new look, either lightly sand and paint the wood or remove the boards and replace with drywall. If the paneling is knotty pine, be sure to use a stain blocking, oil or shellac based primer to help prevent the resin in the wood from bleeding through the paint.
Plywood Paneling
If the paneling is the thin plywood variety that was popular in the 1970s, you have a few more options:
Painting Plywood Paneling
You'd be surprised how far a nice, light paint color can go in updating the look of wall paneling. If your paneling flexes or gives when you push on it, painting is probably your only solution, since filling the grooves will tend to pop loose over time.
To paint plywood paneling:
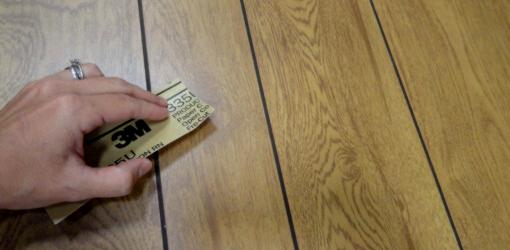
- Step #1. Sand Paneling: Most plywood paneling has a slick finish that prevents paint from adhering well. So before you start, sand the entire surface with medium (120 grit) sandpaper to remove the gloss.
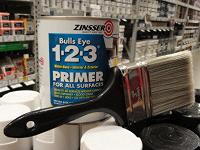
- Step #2: Prime Paneling: Next, apply a high quality primer and allow it to dry. If there are any problems with the primer not sticking, resand and correct it now, because it'll only get worse!
- Step #3: Paint Paneling: Finally, apply at least two coats of latex wall paint. The finished wall will still have grooves, but they will be much less noticeable, and the overall look will be dramatically improved.
Resurfacing Plywood Paneling
If the plywood paneling is rigid and doesn't flex when you push on it, you may be able to fill in the grooves with drywall joint compound before painting to give a smooth surface.
Follow these steps to resurface plywood paneling:
- Step #1: Sand Paneling: Start by sanding the surface with medium (120 grit) sandpaper to remove the glossy finish.
- Step #2: Prime Paneling: Next, apply an even coat of primer to give a uniform surface for the filler to stick to.
- Step #3: Fill Grooves: After the primer dries, fill in the grooves in the paneling with standard drywall joint compound. Use a putty knife to apply a thin layer of joint compound in the cracks. Don't use spackling compound, which isn't durable enough, or caulk, which won't sand smooth.
- Step #4: Additional Coats: Allow the joint compound to dry and shrink overnight before applying each additional coat. Continue applying the compound in thin layers until the cracks are completely filled.
- Step #5: Sand Paneling: Once the joint compound has dried, sand the surface smooth with medium grit sandpaper.
- Step #6: Prime Paneling: Apply a coat of latex wall primer to keep the joint compound from showing through.
- Step #7: Paint Paneling: At long last you're ready to roll two coats of high quality, latex wall paint on the paneling!
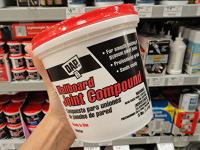
Go Light with the Putty Knife!
Resist the urge to slather on the joint compound to try to save time. Not only will it crack and look awful, but the wet putty will soak into your paneling, causing it to permanently swell and warp.
Removing or Covering Over Paneling
If you've come to the conclusion that all that filling and sanding is a lot of work, you may want to skip redoing the paneling in favor of a permanent fix.
If the moldings and trim are installed over the paneling, as is usually the case, start by removing them. Use a hammer and flat pry bar to take off any quarter round, baseboards, crown molding, chair rail, or door and window casings. Mark where each molding came from on the back, and save them for reuse later.
- Option #1: Rehab Old Wall: If the wall has plaster or drywall behind the paneling and the paneling wasn't glued to the wall surface, you may be able to remove the paneling and rehab the old wall surface using drywall joint compound. Before filling nail holes in drywall with joint compound, dent the surface around the nail hole slightly using a hammer with a rounded head or a special drywall hammer, so the joint compound will adhere and sand smooth. Removing the paneling will cause some of the moldings to be a bit short, so you'll need to either add to the existing moldings or replace them.
- Option #2: Cover Over Paneling: Alternatively, you can install a layer of 1/4" drywall directly over the paneling, making sure to nail or screw the drywall into the wall studs. Next, tape and fill the seams and nail or screw heads as you would any drywall job. This may sound difficult, but compared to filling and sanding several hundred paneling grooves, a few drywall seams don't seem so labor intensive! Covering the paneling will cause the wall to be thicker, so some of the moldings will to need to be trimmed, and the casings around doors and windows may need shimming to cover any gaps.
Further Information
- How to Paint Paneling (video)
- Whether to Use a Brush or Roller When Painting Paneling (article)
- How to Cut and Hang Drywall (article)
Source: https://todayshomeowner.com/how-to-paint-or-resurface-wall-paneling/

Posting Komentar